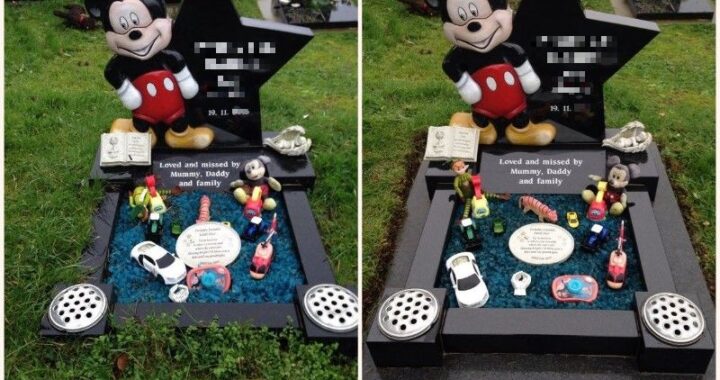
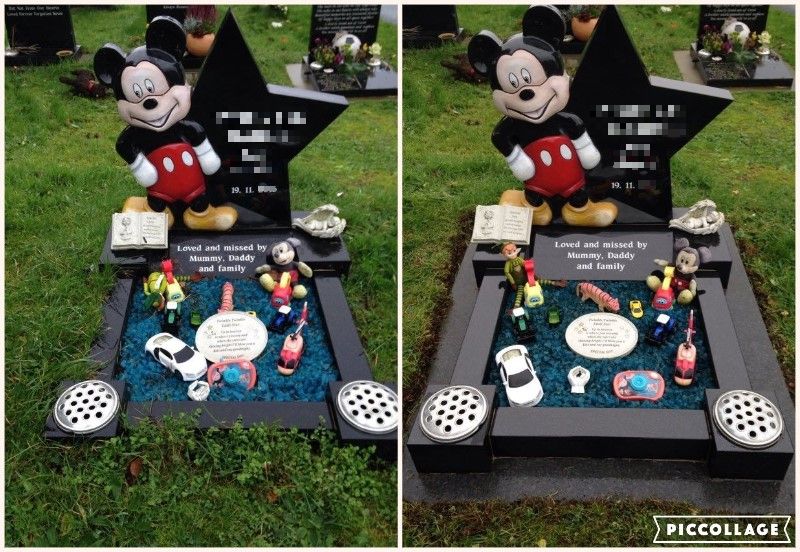
Mickey Mouse Headstone: are you looking for ways to customize your loved one’s headstone with a fun and whimsical touch? Why not consider customizing it with the iconic Mickey Mouse design? Doing so is easier than ever, as this guide will show you how to complete it in five easy steps. Read on for more information!
Step 1: Choose Your Design
The first step is selecting your desired design for the headstone. You can choose an existing template online or create a unique one from scratch. If you want something extraordinary, consider having a professional artist draw up a custom image of Mickey Mouse that can be used on the stone itself. Once you have selected your design, move on to step two.
Step 2: Find The Right Stone Material
Next, decide what stone material you would like to use for your Mickey Mouse headstone. Popular options include granite, limestone, marble, and sandstone – all of which come in various colors and patterns that will make your finished product extra special. Remember that some materials may require additional preparation time or cost more than others, so consider these factors when selecting!
Step 3: Measurements & Layout
After deciding upon the stone material for crafting the headstone:
- Measure out its dimensions according to what was agreed upon during step one (the image size).
- Make sure there’s plenty of room around all sides so that any text or other images can fit comfortably within its borders without feeling cramped or overcrowded.
- Once everything has been measured correctly and laid out on paper with pencils/markers, move on to step four!
Step 4: Cutting & Carving
Now it’s time for cutting and carving out the shape of Mickey Mouse from whatever material was chosen during step two (granite/limestone/etc.). Using specialized tools such as chisels and grinders should allow this process to go smoothly without too much hassle – remember, safety comes first while working at all times! Once everything has been cut away successfully, proceed toward completing step five.
Step 5: Finishing Touches
Finally, add any finishing touches needed, such as coloration through painting techniques or engraving words into surrounding areas (if desired). Then after ensuring everything looks perfect one last time – set aside enough time necessary before installation day. After that, those involved can carefully install their masterpiece accordingly!
In conclusion
Customizing a Mickey Mouse headstone can be a fun and meaningful way to remember a loved one. With the materials, tools, and instructions provided in this blog post, you can easily customize your Mickey Mouse headstone in five easy steps. From sketching your design to adding the finishing touches with paint or vinyl decals. Personalizing your memorial is an enriching experience that will ensure your loved one is remembered fondly for years to come.